What are Wall–Walkers made of?
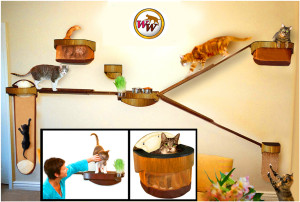
The Wall-Walkers Cat Habitat is a patented, Eco-Friendly product line.
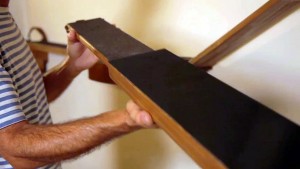
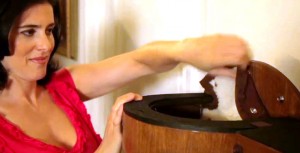
The Cat Perches and Bridges are made with Responsibly Forested Birch Plywood and topped with Recycled Rubber.
The Nap-Net / sleeping loft is made with Organic Cotton Canvas, Sherpa
(Faux Lambs Wool) and Nylon Mesh. Machine Washable.
The Scratch Ladder is made with Organic Cotton Canvas, Hemp Burlap, Sherpa and Recycled Cardboard inside.
The Step & Scratch is a Cat Perch (Step) made with Responsibly Forested Birch Plywood and topped with Recycled Rubber.
The Scratch pad is Recycled Cardboard.
How much weight will Wall–Walkers support?
Wall-Walkers are made strong and light! The average weight a Cat Perch will support is about 25 pounds.
It may support more depending on how it is anchored to the wall, the type of wall and how active your cat is.
What tools are required for installation?
Installation Instructions
You will need: Stud Finder, Drill Motor with a Philips (X) tip,Philips Screw Driver, Hammer, Level and Pencil.
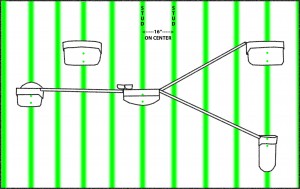
1. The first step is to decide your layout. Wall-Walkers are designed for stud & drywall walls. Each stud in the wall is 16″ center of stud to center of stud.
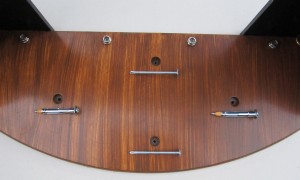
Attach top and bottom center holes of Cat Perch to studs.
*Remember, Cat Perch MUST attach to a Vertical Stud in the wall.
If it does not, and is only in the drywall, it will not support the weight of your Cat and will tear the drywall as it pulls out the anchors.
Left and Rght side holes are for drywall anchors.
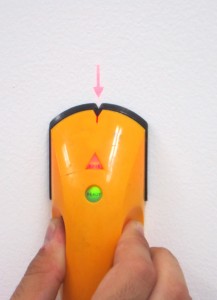
2. Use a Stud Finder to be sure.
A Stud Finder measures the density of the wall. When it comes to a Stud it will BEEP at the edge of the Stud. Find both sides of the Stud and make your pencil mark in the center.
For STARTER-KITS
or
Systems with a STEP & SCRATCH.
We have found if you start your layout with the top center hole of your STEP & SCRATCH Perch at about 30” it will work nicely for your Cat’s stretch and pull muscles. Adjust to fit your Cat. Also, works well for the height of the next Perch.
You can attach Bridges up from there. Sliding Bridges extend from 32” to 55”. Be sure to stay within that measurement between each perch.
FOLDING BRIDGES are different. Because their length is fixed (39” or 42”) you must hook it to the STEP then hook it to the QUEEN PERCH while holding it at the correct STUD location then mark the PERCH HOLES.
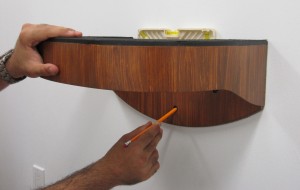
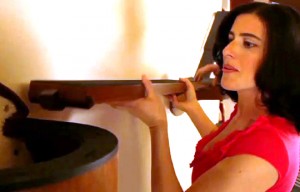
3. Find stud and determine height. Hold Perch in place with a Level on top over stud and mark where the four holes are
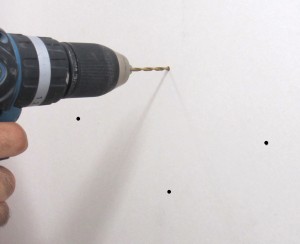
4. Use 1/8” drill bit (provided) to drill top and bottom holes into stud and side holes in drywall for Anchors.
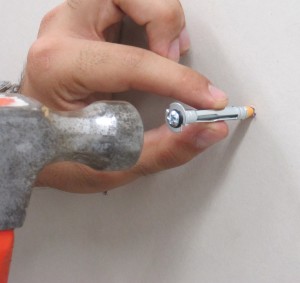
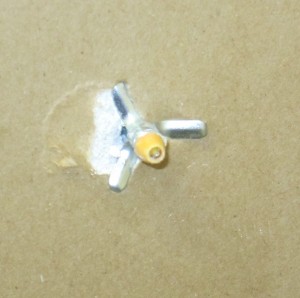
5. Tap Anchors carefully into the two side holes in the drywall.
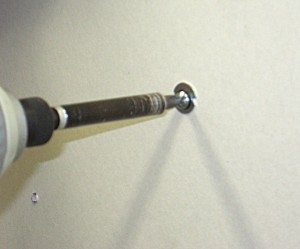
6. Use an electric screwdriver with a Phillips (X) Bit to tighten screws in Anchors until snug against the inner wall.
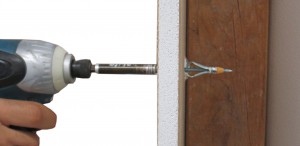
Side view of Anchor in drywall. Anchor is secured.
7. Now, un-tighten the Anchor screw until it comes out. Anchor is now in place and secure.
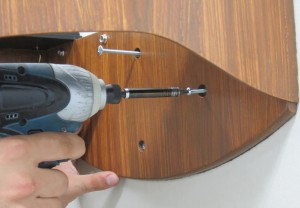
8. Hold Perch in place with level on top and tighten center screws into stud with electric screwdriver. These are the most important screws so make sure they are tight. Tighten drywall Anchor screws on the sides carefully not to pull through drywall.
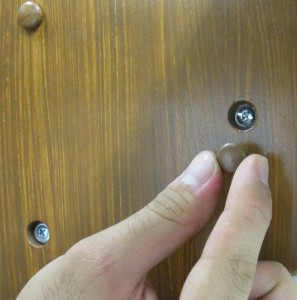
9. Perch is now mounted. Cover screw heads with wood plugs.
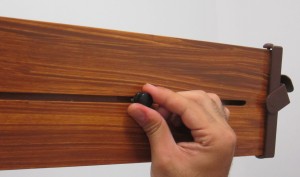
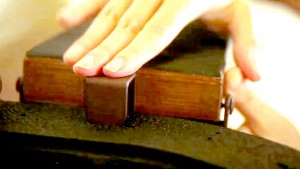
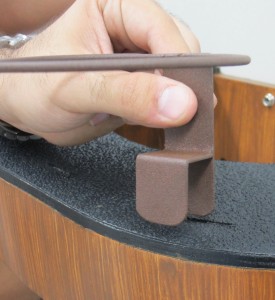
10. To attach a Sliding Bridge, un-tighten Knob on bottom of Bridge and slide apart. Place hooks in slots on both ends then tighten Knob.
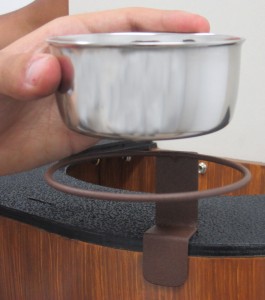
11. Place Bowl and Holders in slots.
12. Snap and hook (machine washable) Nap-Net / Sleeping Loft onto Perch.
Your Wall-Walkers Cat Habitat is now ready to enjoy!
If you have any questions about installation
please call or email: info@wall-walkers.com
Customer Service: 213-533-0604 / M-F / 9am-5pm PST
POBox 7253, Beverly Hills, CA 90212
Warehouse: 9636 Noble Ave., North Hills, CA 91343
